Setting up sender info ensures that your customers see a recognizable sender name and can reply directly to the correct email address.
Steps:
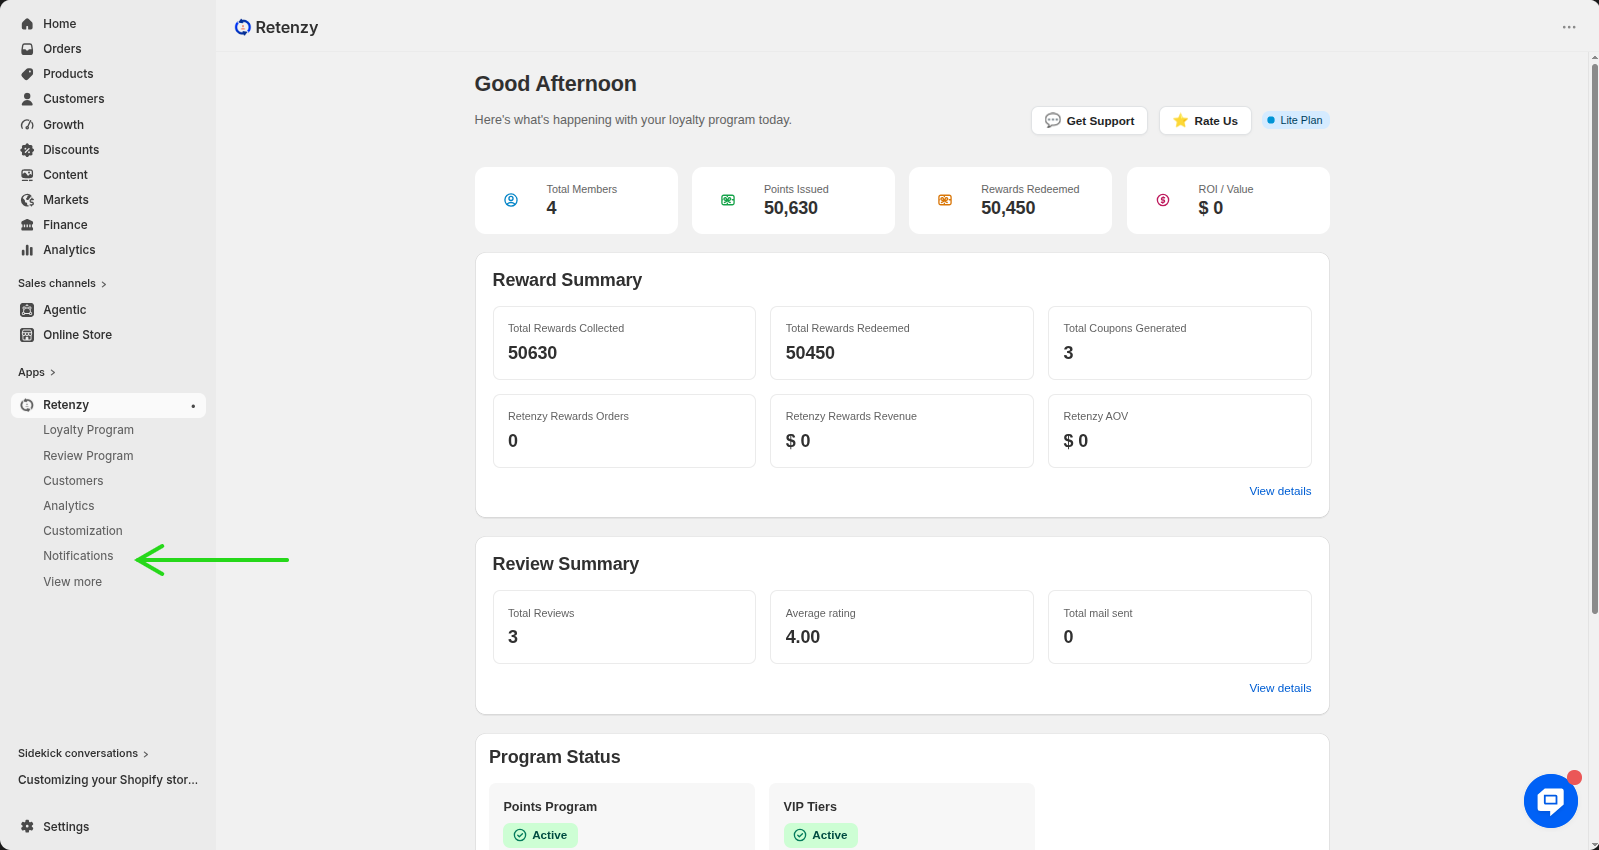
Step 1: Open the Retenzy Dashboard
- Log in to your Retenzy dashboard.
Step 2: Navigate to the Notifications Section
- From the left-hand menu, click on Notifications.
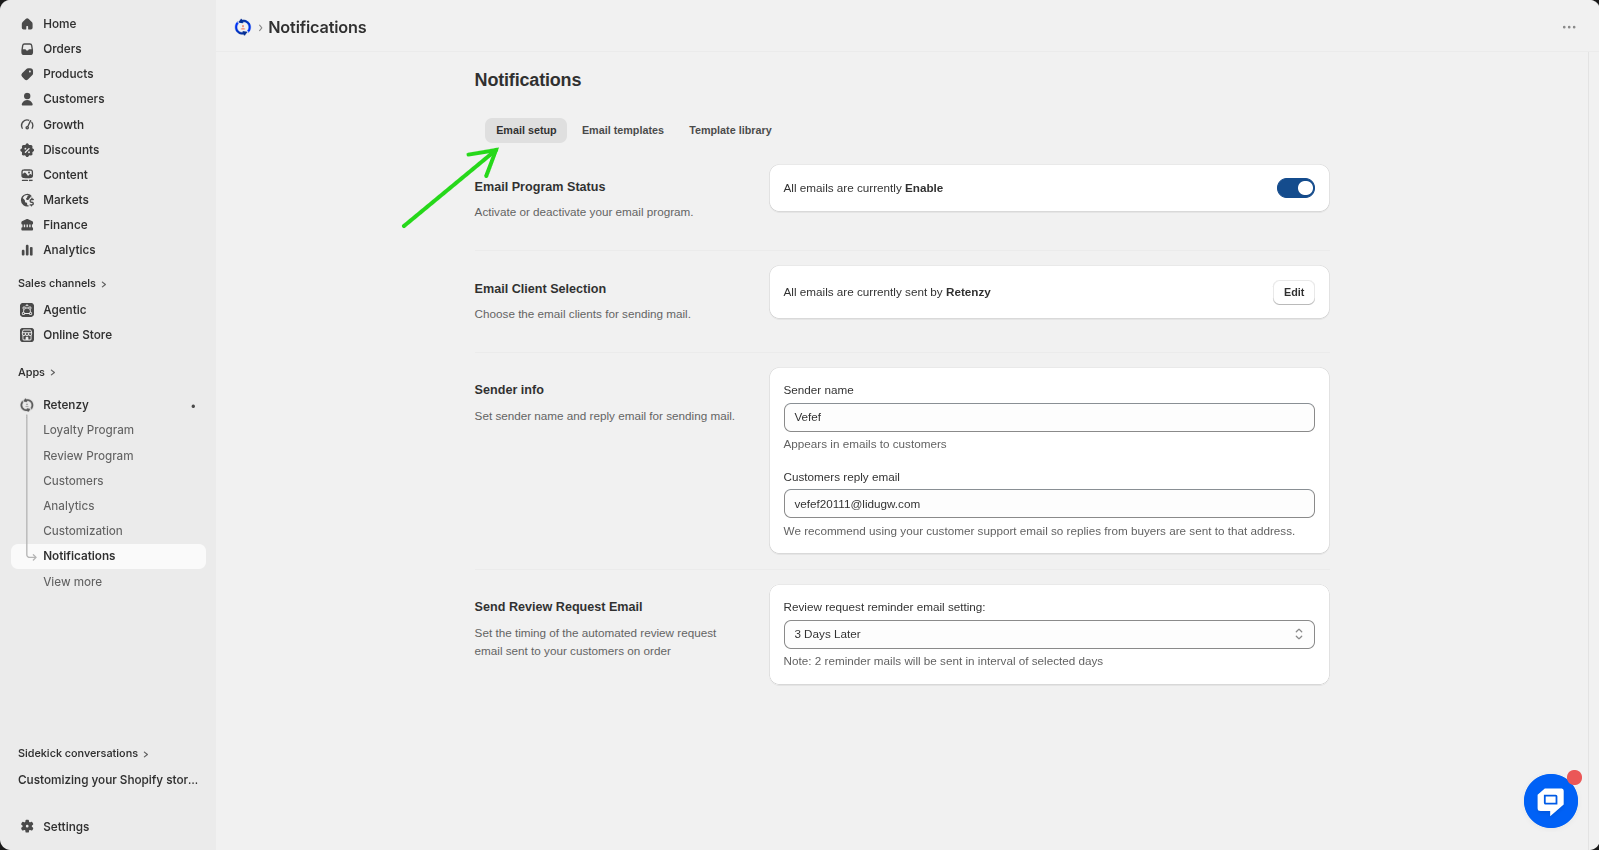
Step 3: Open Email Setup
- In the Notifications section, click on Email Setup.
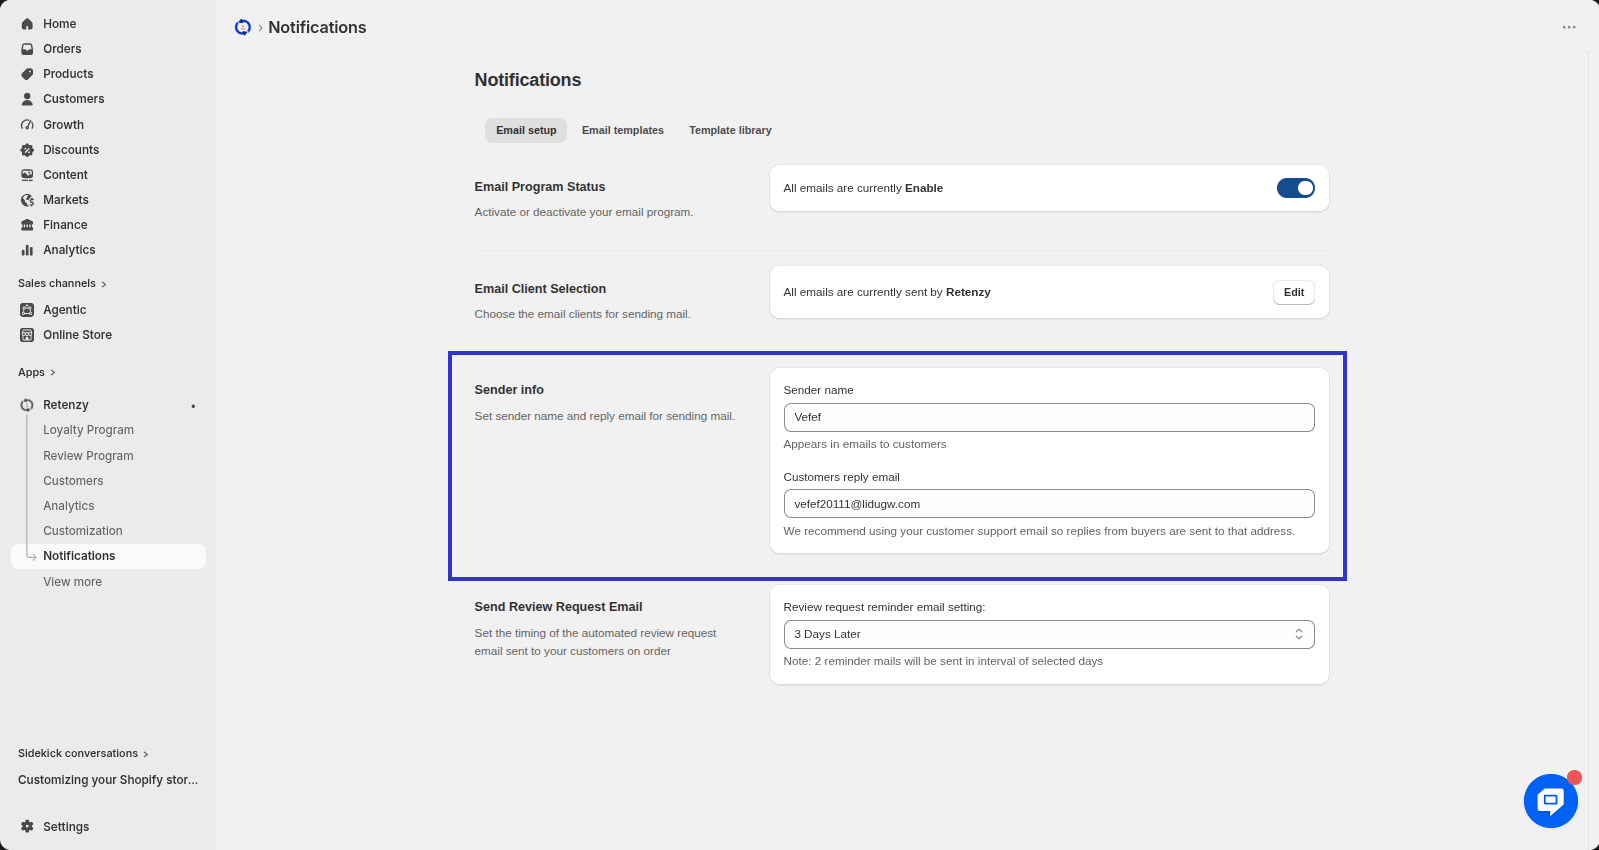
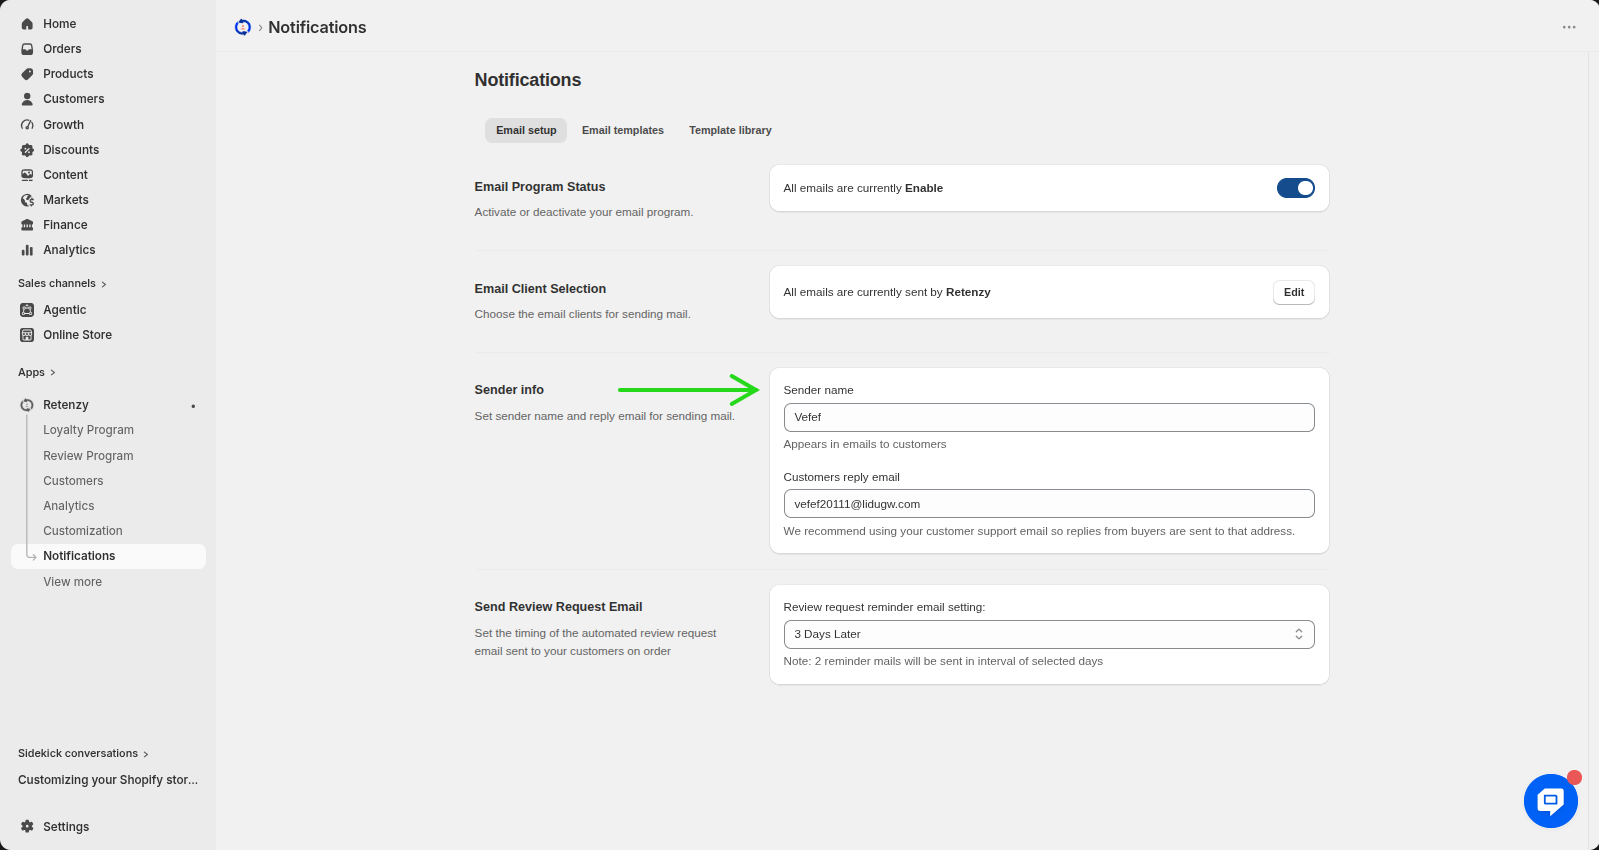
Step 4: Enter the Sender Information
- On the Email Setup page, scroll to the Sender Info section.
-
In the Sender Name field, enter the name you want customers to see as the email sender (for example, your store name).
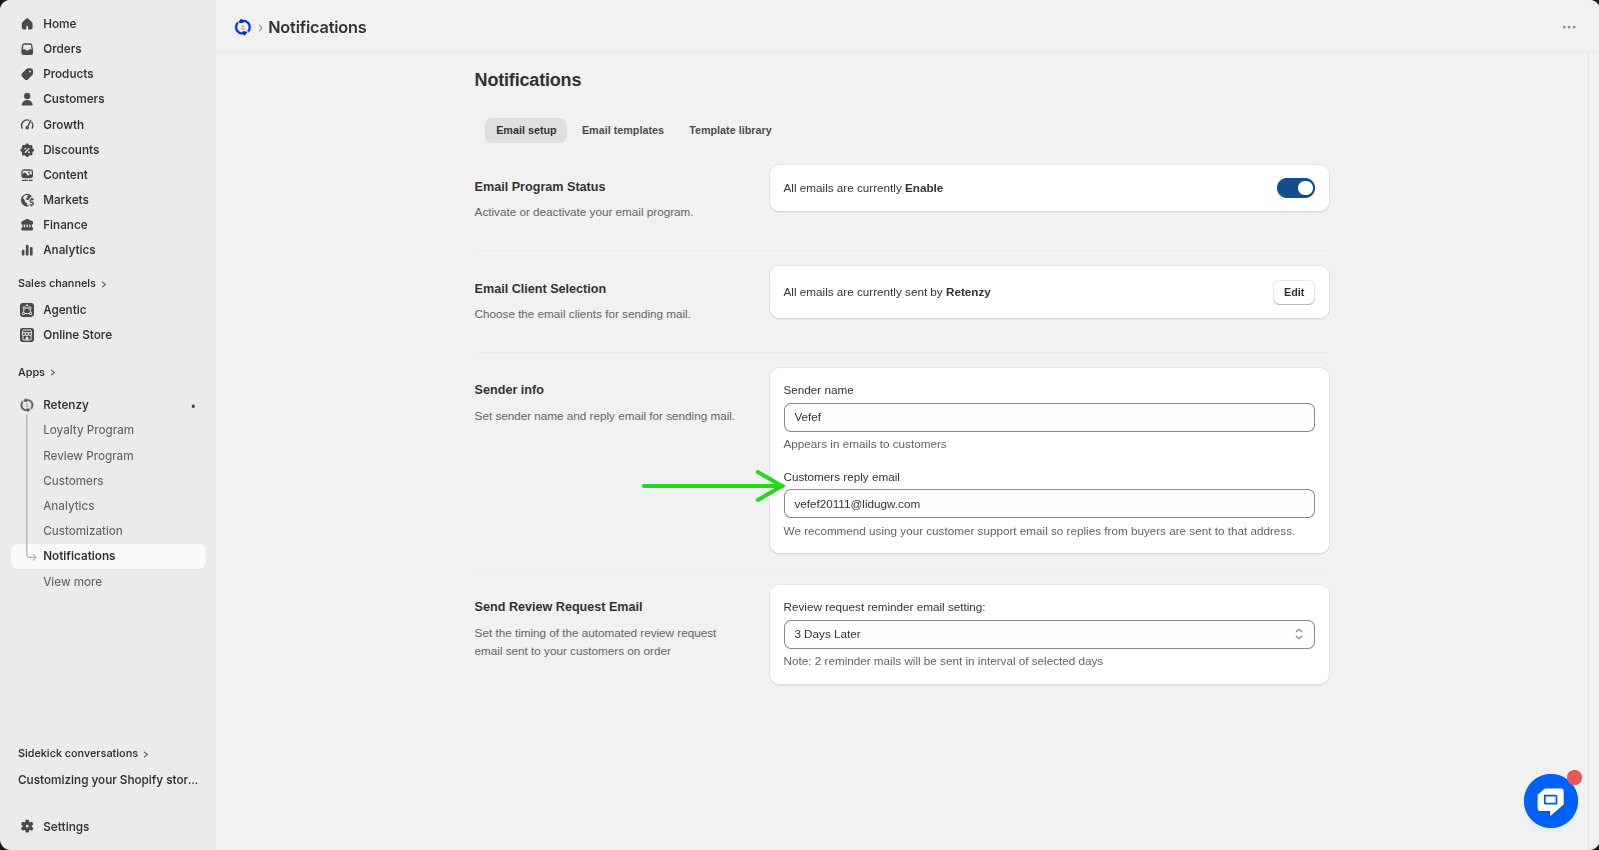
-
In the Customer's Reply Email field, enter the email address where you want to receive customer replies. It is recommended to use your customer support email address.
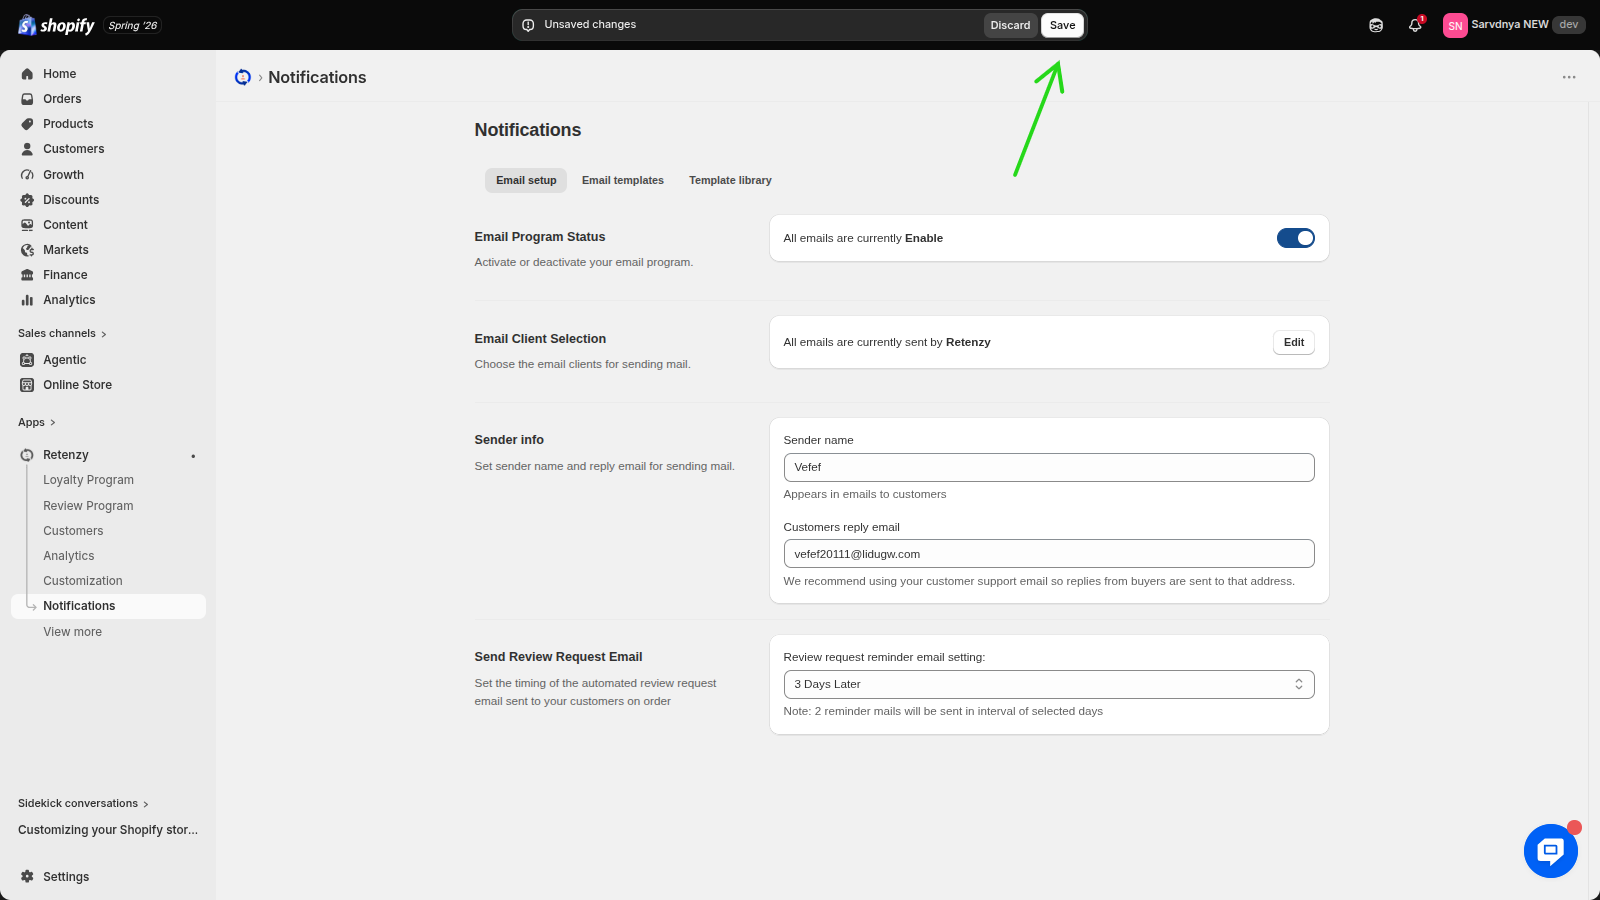
Step 5: Save Your Changes
- Click Save to save the sender information.